Using Hugo, GitLab Pages, and Cloudflare to create and run this Website
- Why Keyboard Shortcuts don't work on non-US Layouts and how Devs could fix it
- An Interactive Virtual Keyboard to Visualize any Collection of Shortcuts
- An app to show the shortcuts of the current application for Windows, Linux, and macOS
- Automatically add <kbd>-tags with a Single Regex
In this post, I outline how I develop and run this blog site. I briefly explain my technology choices and give detailed instructions about how to use the resulting stack to create such a project. If you stick with me until the end, you will know how to run a beautiful, easily customizable static website for free.
When I decided to start this blog for the reasons outlined in my first post, I was already familiar with GitLab Pages, and the MkDocs static site generator. I am using this combination for creating documentation websites, and it is working very well.
Therefore, it was an easy choice for me to also rely on GitLab Pages for this site. I will cover its features in a later section of this post. With hosting already covered, I just needed to create the actual site.
Creating the site with Hugo
Before starting this blog, the only static site generator I used in production environments was MkDocs, which is intended for documentation and clearly not a good choice for creating a personal blog site.
A good overview of more appropriate alternatives is given on staticgen.com. For my purpose, probably all the popular projects would have been good choices. I decided to go with Hugo for two reasons:
- It is written in Go, a language with a promising future that I wanted to try out for a while already.
- There is a very well-curated list of open-source themes directly on the official website.
So let’s get to work.
To get started on Ubuntu, we can execute just two commands to install hugo and create a new project:
# install hugo
sudo snap install hugo

# create a new project
hugo new site personal-blog
If you are not using Ubuntu, your system’s package manager likely provides a similarly easy experience. Refer to the official documentation for installation instructions for other operating systems.
Before we start to work on our site, we want to install a theme:
# install the theme
cd personal-blog
git init
git submodule add https://github.com/luizdepra/hugo-coder.git themes/hugo-coder
I like that Hugo is very forward about using GIT submodules to install themes. This makes it easy to apply changes to the theme while keeping the connection to the original theme project. In an upcoming blog post, I will detail which changes I made to the theme itself. For now, we are perfectly fine with the default Hugo-Coder theme.
We only need to apply some basic configuration. Simply replace the content of config.toml with the following:
|
|
Then, we create the first post:
hugo new posts/my-first-post.md
For the theme to properly recognize the new blog post, we have to replace the content of the newly created /content/posts/my-first-post.md with the following:
|
|
Finally, we can get a first look at our new personal portfolio and blogging site, by starting up the Hugo development server. Simply type
hugo server
Then go to http://localhost:1313/ to see your new site:
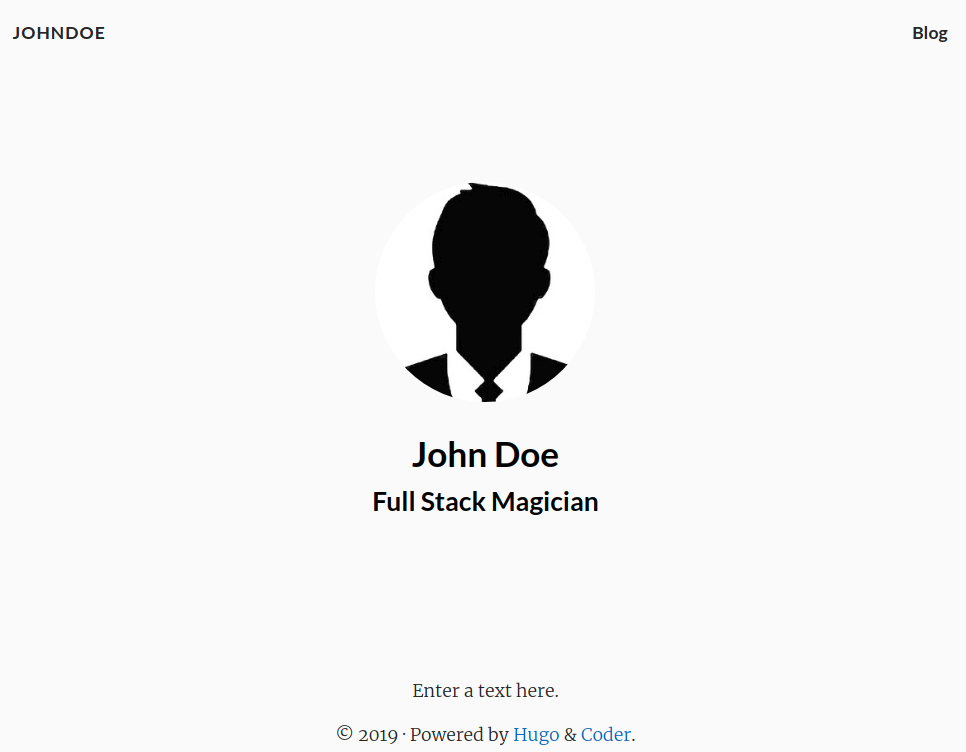
Hugo coder default page.
Testing your site locally is great, but showing the whole world that you are John Doe, the Full Stack Magician is something else entirely. Luckily, we are very close to doing just that.
Hosting with GitLab Pages
GitLab Pages is similar to GitHub Pages. Both allow free hosting of static websites. GitLab Pages enables you to build the hosted static content via GitLab’s CI/CD features. This means that your site will automatically be rebuilt on every commit to the repository. Until the release of GitHub Actions, GitHub could not do this. Instead, you had to build the site locally and commit the static files to the repository. Nowadays, both GitLab and GitHub are perfectly fine choices to host your static site.
Naturally, we start by creating a new repository. Before pushing anything to this repository, you might want to perform some usual GIT maintenance tasks, such as creating a .gitignore file. If you do not know it yet, you should have a look at the gitignore.io service service. The site generates .gitignore files depending on your technology stack. For Hugo, it will for example exclude the /public/ folder, which is very much what we want, because we will build this folder via a GitLab CI pipeline on every push to the repository.
Once everything is in order, we can simply follow GitLab’s instructions for pushing our existing project folder:
|
|
Finally, we get to the exciting part: Having our site built and published on every new commit to the repository. If you are not yet familiar with GitLab’s CI/CD features, check out their docs.
Fortunately, getting started is very simple. Simply put a file called .gitlab-ci.yml in the root of your project. This YAML configuration file holds all CI/CD configuration. For our Hugo-powered blog, the following file content is sufficient:
|
|
The first line specifies the docker base image to use for our pipeline. For this brief tutorial, we will not use any testing stages, instead, we have just one simple job called pages. It executes the hugo command, which will build the static site content in the public directory. Somewhat incidentally, this is also where GitLab Pages expects to find our static site content. The only thing left to do is publishing the public directory as a job artifact. The last two lines are optional and state that the site should only be built and published on commits to the master branch.
Once you push this file to your repository’s master branch, the static site will be built and published within a few minutes. Go to Settings->Pages to verify that everything is in order and to see the default URL of your new website. If you own a domain you would like to use rather than the default *.gitlab.io one, you can head to the docs or check out this more detailed tutorial.
However, before you do this, you may want to read the next section of this blog post, as the information given there could spare you some headaches.
Speeding up load times and configuring URL redirections with Cloudflare
Initially, I configured SSL for this site via Let’s Encrypt. In principle, this is a perfectly fine way to do it. There is a good tutorial in the official GitLab Docs.
However, it is a little bit tedious, as it requires frequent renewals, a process that can not be automated easily. Furthermore, I had problems redirecting from www. to non-www URLs with Namecheap, which is my domain name registrar. The issue was complicated by the fact that this site uses a .dev domain which is by default on the HSTS preload list. Namecheap seems to prefer selling their own SSL certificates rather than fully support and document working with Let’s Encrypt.
I solved all those issues at once by simply signing up to Cloudflare. The free version is perfectly fine for me. After signing up, Cloudflare provides very simple and precise instructions for getting started. Basically, you have to configure your domain to use their nameservers instead of the ones provided by your original domain name registrar.
Once your site is configured to run with Cloudflare, you can use their Page Rules feature to easily redirect traffic from the www. subdomain to your canonical non-www URL or the other way around.
Furthermore, Cloudflare provides SSL encryption out of the box from their servers to your clients. All your static sites hosted with GitLab Pages and served via Cloudflare will be accessible over HTTPS without any additional configuration. Of course, we also want to encrypt the traffic from Cloudflare to the origin GitLab Pages host. For this, Cloudflare offers Origin Certificates. I will not explain this further, as there is an excellent tutorial on this provided directly by GitLab.
Edit: With GitLab 12.1, released on July 22, 2019, it is possible to automatically get HTTPS certificates for GitLab Pages using Let’s Encrypt. Using Cloudflare Origin Certificates is still a perfectly fine approach, however, it is no longer more convenient than just using GitLab’s Let’s Encrypt integration.
Conclusion
The biggest advantage of this setup is its financial cost. Apart from buying the tkainrad.dev domain, creating this site did not cost any money. Furthermore, the page is now running at absolutely zero cost. This is not restricted to a limited timeframe, thanks to GitLab Pages.
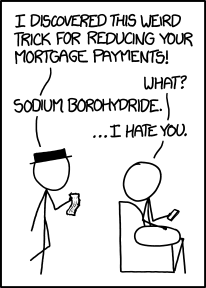
Fortunately, we do not have to resort to chemistry puns to reduce our hosting bills. (Source: xkcd.com)
If you have basic programming skills, I highly recommend hosting your static sites with this free service instead of paying a monthly fee to a hosting provider.